PoC: Custom MHS heatsink pcb (for my Obi TPM)
was going to post this in the 'idea thread'.. but figured just make its own thread for it..
another step in my OBI TPM saga.. lol
trying to keep the size as accurate as 'I' can, and still having it be somewhat MHS based at the core...
I was stuck on finding out a way to use the stock switches as real, functioning switches for my hilt.
(Ive always been keen on the all-in-one core ideas... but have the switches on/in the core and some sort of cap/plunger on the outside has always been a PITA for me... here and there a few ideas have came out/been used)
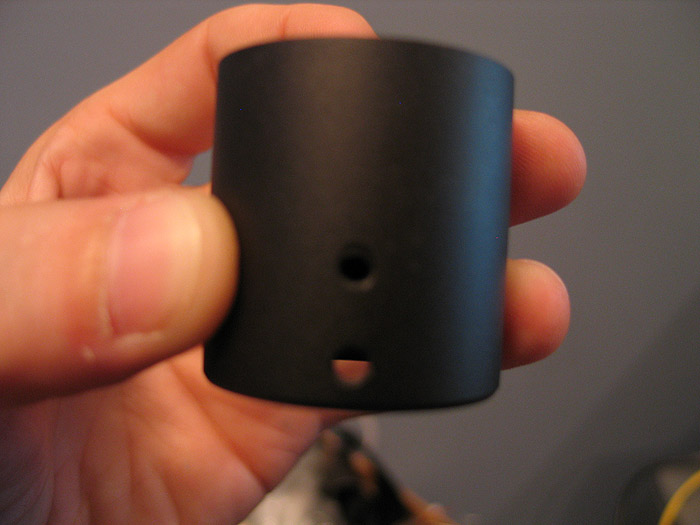
for the OBI.. when everything was done,.. the switch holes would go (more or less) at the same exact level of the MHS heatsink.. so I need to adjust that a bit.. and also find a way to mount some switches in that area..
I had mulled over Madcows switch approach. but just wasnt a good fit..
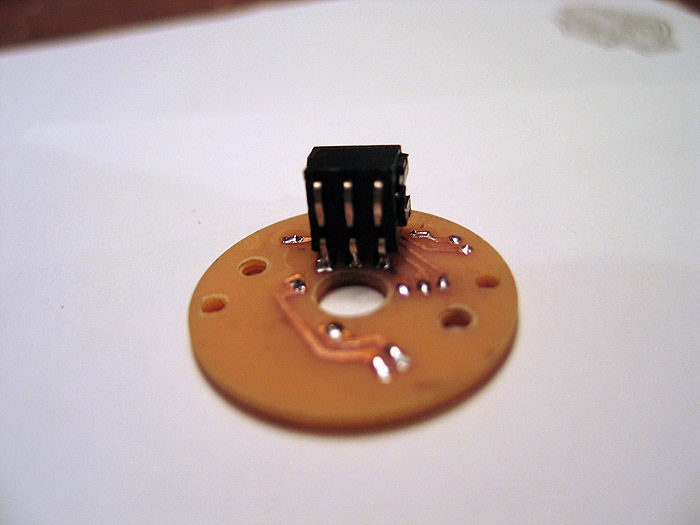
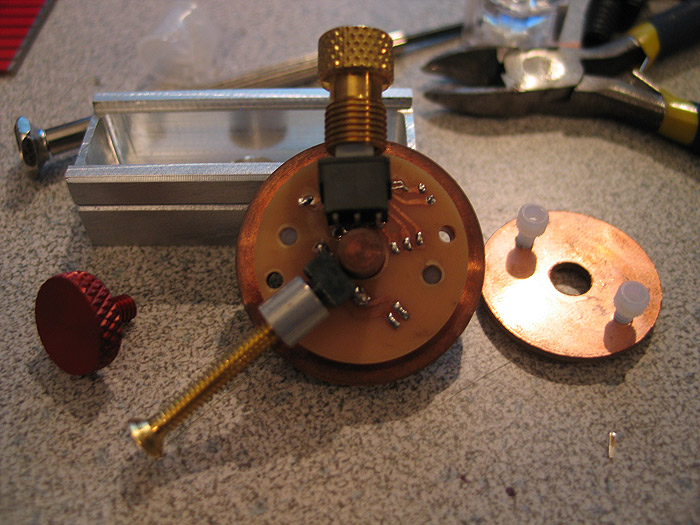
so I came up with a custom, round PCB, that mounts to the underside of the heatsink..and is secured using the same nylon screws that hold our luxeon star pcbs. (MHS hack!)
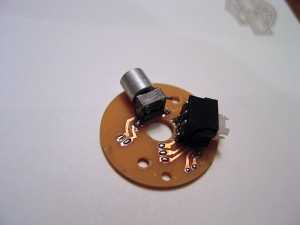
here is my prototype..
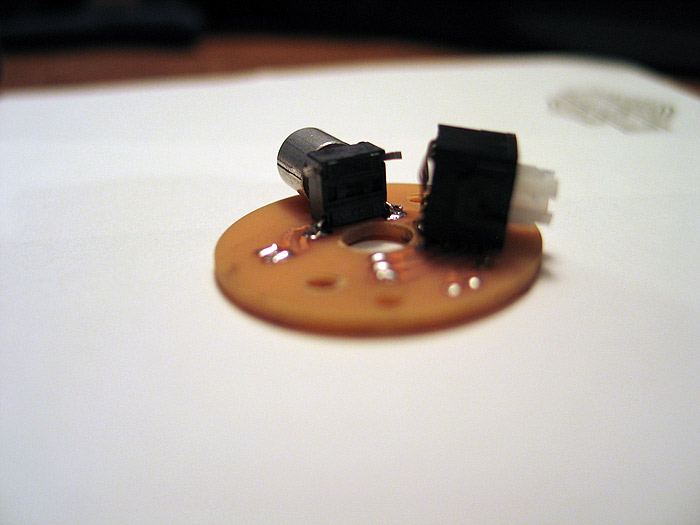
the bike valve switch will have an SMD led in it.. (like they normally do).. to light up the purple gem in the valve end. I just didnt put it back in yet..from doing the momentary mod to the switch (latching by default)
I also didnt clip the extra leads from the switches yet.. but I believe the idea is sound.. and can open up the doors for others to use the same idea/approach.. (nned to mount a unique switch?.. make a pcb for it!)
I posted a tut on how to etch your own pcbs..etc.. using your home laser printer and photopaper..
1.) make pcb deisgn in photoshop..
2.) print to photo paper
3.) iron to your copper clad board.
you get this:
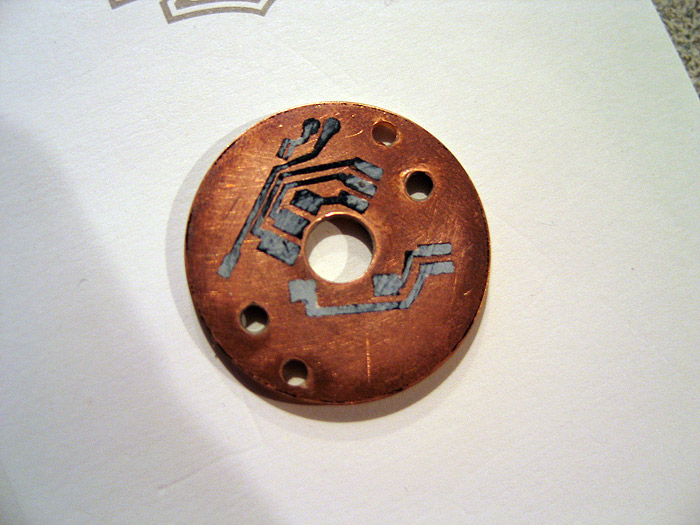
etch and you are left with your laser printer traces (covering the copper underneath)

remove toner: (pcb is left)
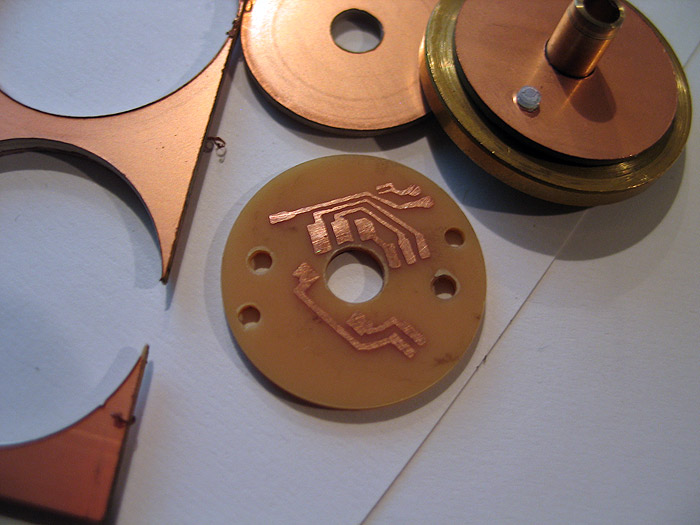
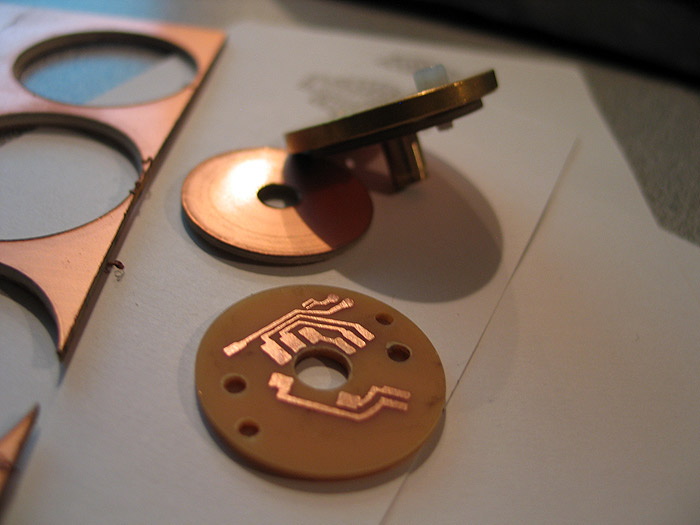
Like Erv taught us.. pre-tin folks!

bend my switch leads underneath..and the other row down:
other switch:

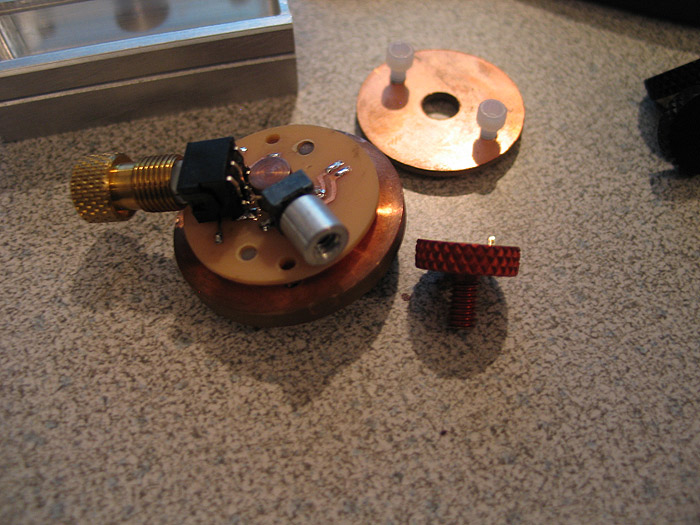
on heatsink:
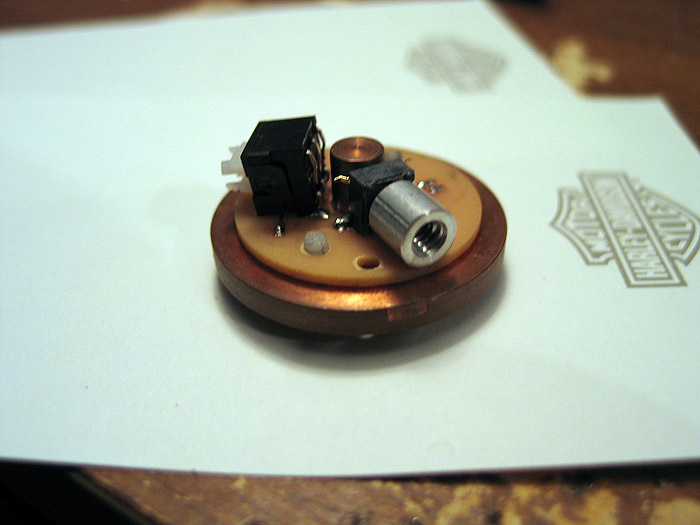
I dont have a red thumbscrew with the correct threads yet.. but you can see it mocked up there.. (screws right in from outside of hilt)
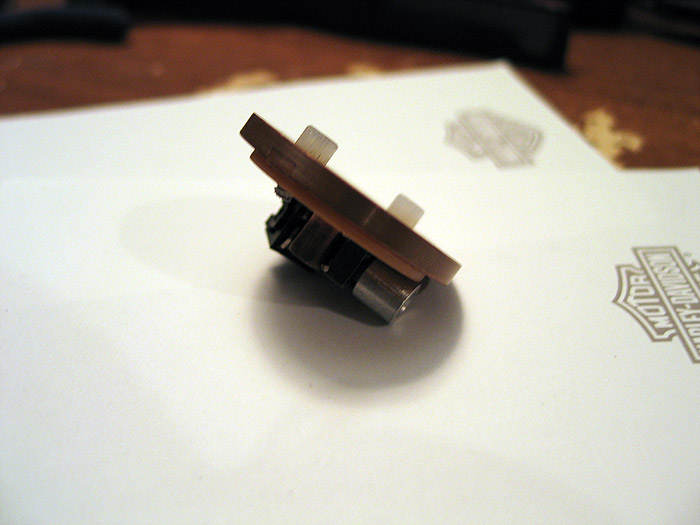
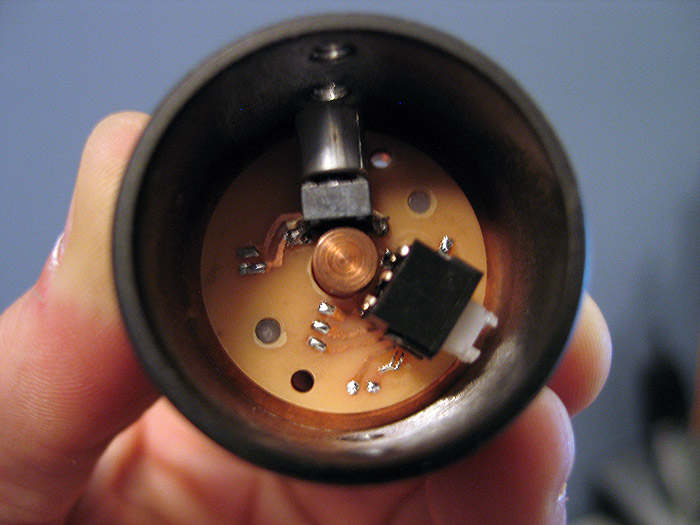
when heatsink is in MHS part.. it lines up with the holes perfectly.. (cant see it so good in pic_ =(
feedback always welcome..
hope this helps others get past road blocks in their projects!
thanks